Next on our journey of Organizing Your Embroidery Business is the Finishing Department. Setting up the finishing department with the right tools and equipment is very important if you want to present a high-quality finished garment to your customers. Most of the tools are very simple and easy to gather. The only real equipment needed is a commercial steamer and a steam iron.
When I say commercial steamer, I mean just that and not one of the handheld ones. They do not do the job that the upright steamers do and my favorite brand of a steamer is the Jiffy steamer. The reason for that is the amount of time that it lasts and the ease of being able to get parts for them if something does need to be replaced.
 The only other piece of equipment is a table. Depending on the size of your area or business, you will need at least one table in your finishing department. It is best to have one area for the trimming & steaming and another area for the packing. If this is not possible you will have to go through one entire process before you can start the next process. This is not an issue if you are a one-person organization, but if you have more than one person in your finishing department, they will each need their own area or table.
The tables can be very simple but they need to be high enough so that the employee is not bending over too far to do the job as it can be very tiresome by the end of the day. Cover the tables with some type of cloth-backed plastic or a piece of heavy canvas. If you are using the plastic covering you will need a towel or some type of terry cloth to lay down on the table during the steaming process.
The basic tools that are required for your Finishing area are:
- Terry Towel
- Shout Wipes
- Liquid Dish Soap
- Textile Marking Pens
- Fray Check
- Lint Roller
- Clothes Brush
- Wash cloth
- Nail Clippers
- Scissors
- Trimmers
- Plastic Bags
- Scraps of Topping
- Commercial Steamer
- Large Trash Can
- Steam Iron
All of the small tools need to be kept in a plastic drawer or some type of container so that they are all easily accessible and not scattered around. I make sure that each one of my departments has their own tools so that there is no wasting of time searching for a tool.
Embroidered Garments Go From Embroidery Machine To Finishing
When the embroidery machine operator removes the garments from the machine, she also removes the hoop and then places the garments into a basket, bin or on a cart. This basket, bin or cart is then taken to the Finishing area.
The process for Finishing is as follows:
- Remove the backing
- Trim the top threads if this is necessary
- Stack the garments in a pile by size
- Steam the topping off and remove the hoop mark
- Fold up the garment and place it in a size stack
- Count the finished garments in each sized stack
- Bag the individual garments if required for the order
- Place them in a box
This box of finished goods is then sent to the shipping department.
I have found from my own experience that the employee works much faster if she or he is standing during the entire finishing process, but if it is necessary for health reasons, the employee can be sitting for trimming and removing the backing but they need to be standing for the steaming, folding, counting and stacking the garments into the sized stacks.
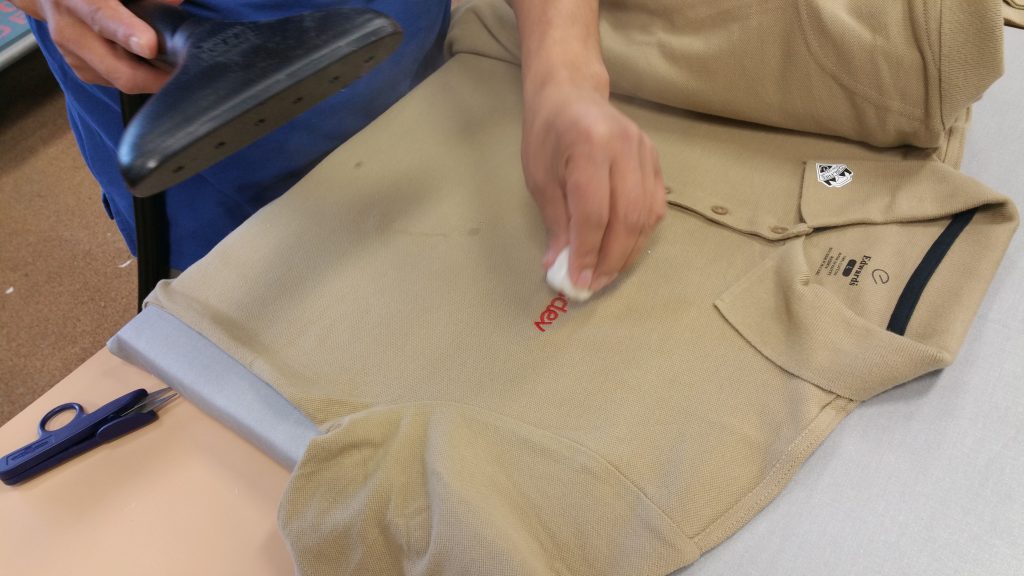
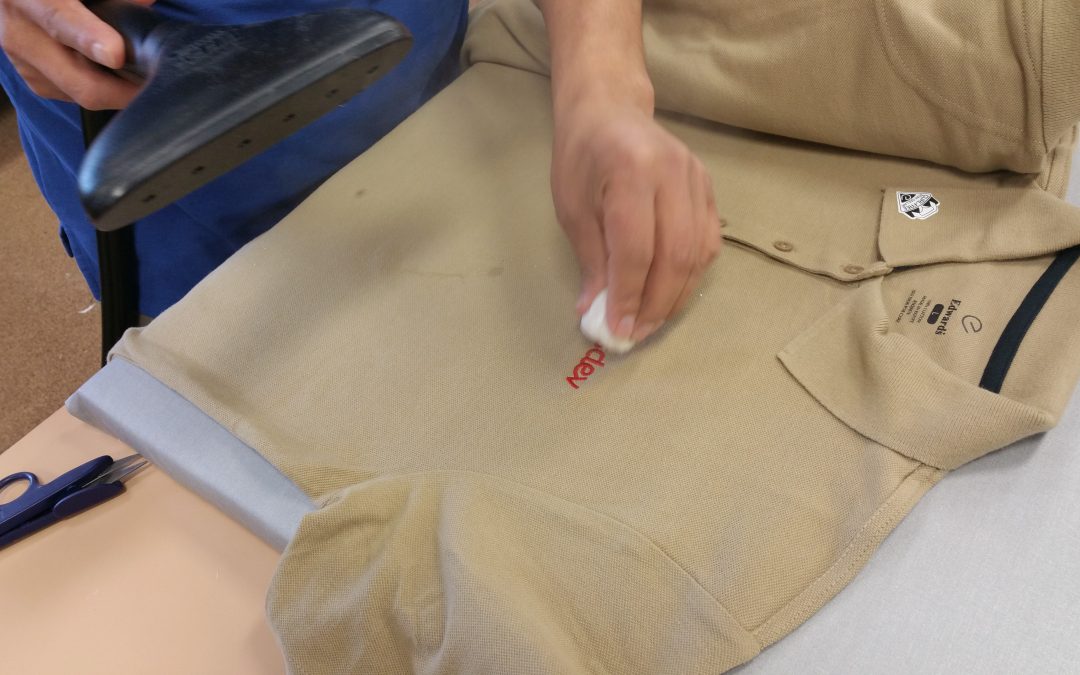
A quick and easy way of removing the topping is to remove it with a topping ball as you are steaming the garment. Steam your garment thoroughly and then dab the topping ball on top of the embroidery to remove the topping. It may take 2 or 3 tries to remove all of the topping but it removes it even in the tiniest areas. I have heard of and tried many other solutions for removing the topping but none are to my satisfaction and quite often leave a wet mess behind. This is not acceptable to me. When that garment is finished, I want the process to be finished, not waiting for it to dry; plus the steamed finished garment looks more professional!

0Please leave me a comment below to let me know that this has helped you to get your Finishing department set up for finishing your garments efficiently in your Embroidery Business! If you leave a comment below, I will send you access to a bonus video showing you how to Remove the Topping!
Joyce Jagger
The Embroidery Coach

