Are you afraid of doing embroidery on caps? Do you put it off because you are unsure of exactly how to do it? Do you refuse to work on caps because they feel intimidating? If you feel like that, I can surely understand this. I was so afraid of caps when I first started my embroidery business. I absolutely turned down every job for caps, from anyone that wanted embroidery on caps or even brought them to me. This was like a foreign country and it absolutely scared me to death!
One day I had a customer come in and was desperate for one single cap and I decided to give it a try. Now back in those days, I did not have a cap machine and I would embroider on unfinished cap fronts and then send them to the cap manufacturer to have the cap fronts made into finished caps. That was simple and I did not have to deal with the blank caps. This was before they even made cap machines. When my customer only needed this one cap, I knew that I would have to embroider it flat but I was totally unsure of how to do this. I decided that I would treat it like any other item that I could not hoop and glued it down to backing that I had hooped. It worked and my customer was happy!
They have cap frames now that you can use to embroider fronts flat that holds the bill down. They are mainly made for the home machines that do not have the cap frames for them.
Once I got over the fear of that one cap, I started taking cap orders for finished caps and it was not nearly as hard as I had envisioned! I am so glad that I took that chance to overcome my fear of even trying to do embroidery on caps.
I then decided to purchase a 15 head tubular machine that I could easily use to do embroidery on caps and started taking cap orders on a regular basis. The next trick was to learn how to hoop them correctly and tight enough so that they would be straight and the embroidery would look great!
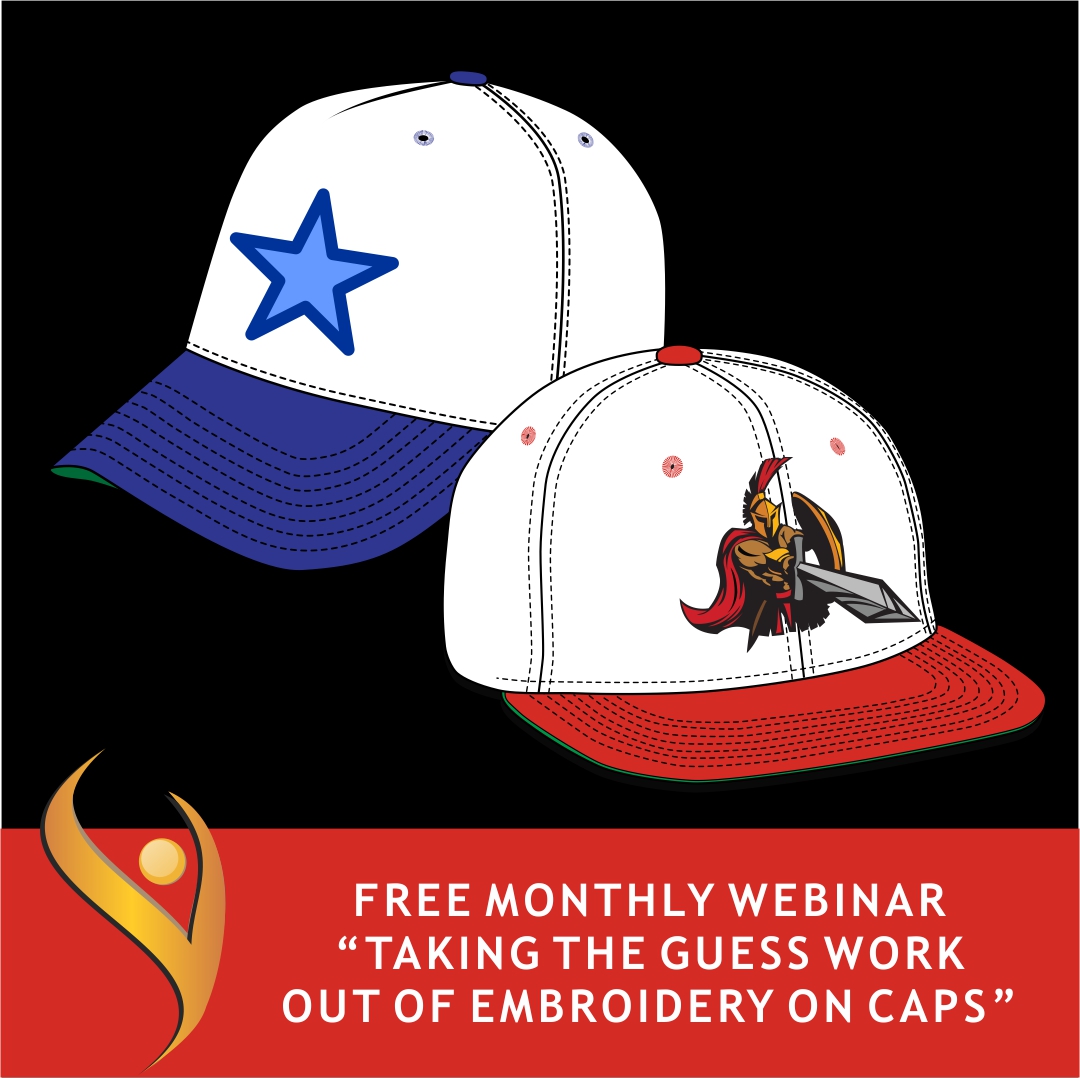
Here are some tips that will make it easier for you to cope with the embroidery on caps and help with taking the guesswork out of it.
- On structured caps, (6 panel caps with a heavy buckram lining in the front) steam press them first. This softens up the front of the cap, presses it flat and helps it to sit tighter on the throat plate of the machine. You can do this with a regular household iron.
- Use a 3 oz. tearaway backing that has been designed for caps. This is important. If it is a lighter weight backing it will not give you as good a registration. Sometimes you need 2 layers of backing to hold it closer to the throat plate.
- I always use a 70/10 sharp needle, but if you have needle breaks, switch to a 75/100 needle. Some people recommend 80/12 but I have never used this large of a needle on my caps. You cannot get the fine detail in the designs using an 80/12 needle. I use the 70/10 needles even on FlexFit caps.
- For best results, keep your design at 2.10 inches or less in height. This will allow for a design that can be embroidered on most caps. If it is an low profile cap or an unstructured cap (not buckram or lining behind the front fabric of the cap) then you may need to keep your design to a maximum of 2 inches in height.
- Make sure that you have the caps hooped tight and that you are using the clips on the side of the caps to hold it down. Place the clips at the bottom of the posts closer to the bottom of the cap. This will hold it in place but it will not distort the design at the top of the cap.
- Make sure your designs are starting from the bottom up and from the center out. If you are having your designs digitized, make sure that you tell the digitizer that it is for a cap and you need to have it start at the bottom and from the center out.
- Make sure that you have ample underlay to anchor your cap backing to the cap front to keep good registration.
- If you are embroidering a 2 color letter, embroider the inside first and then the outside of the letter before going on to the next letter.
- If you have a large fill area in the center, run a zigzag stitch up the center of the cap before actually starting the design. Tell your digitizer to do this if you cannot. This will help to anchor the design and keep it from pushing and pleating the fabric in the center.
- Start your design on half to three-quarters of an inch up from the metal strap that goes across the front and is sitting on the bill of the cap. If you have a short design, move it up to be in the center of the cap. If it is a tall design, then start it at the one half inch point up from the strap.
When you can learn to embroider on caps and do them efficiently, they will be one of your biggest money makers! Embroidery on caps is a constantly growing business and you do not want to miss out on this huge money making opportunity!
For more information on “How To Embroider On Caps” and other programs to help you grow your embroidery business, click here!