In part 3 of this series on Organizing Your Embroidery Business I am going to be talking specifically about the Hooping Area and the tools and equipment that you need to be able to run that area efficiently in your embroidery shop.
In part 1 of this Organizing Your Embroidery Business series, I showed you a floor plan and in part 2, I talked about The Receiving area and what you needed to Process your Orders. Now we are ready to move to the next department in processing your order and that is Hooping.
For an efficient workflow in the Hooping department you need:
- Hooping Equipment
- Tools
- Supplies
Embroidery Hooping Equipment
In this article, I will talk about the Hooping Equipment and tools. You will need a Hooping Device and Embroidery Hoops or Hooping frames as they are sometimes called. Hooping can be done without a hooping device, but it is much quicker and more efficient to use one. You need to learn how to hoop without a Hooping device so that you know the basics of hooping. You will then be prepared for the times when a hooping device does not work for your particular situation. This happens quite often, depending on your garment and which type of hooping device you have.
Some of the Hooping devices will work with almost any size hoop such as the All in One Hooping device but others are specific to a sized hoop and you will need template inserts to use for each size hoop such as the HoopMaster.
If you have a large shop you may need a foot-operated hooping device. I have used all 3 types in my shop and have found each one to be very beneficial for the different types of hooping situations. In a large shop, you will need more than one device because you will need more than one person hooping the orders. It all depends on your workflow and how many embroidery machines you have in operation at one time.
If you are just starting out with your embroidery business a HoopMaster will be the best choice for you.
If you hoop a lot of caps, it is advisable to purchase the ‚ Third-hand Cap hooper. I purchased my first one in 1995 and I would not be without this hand-saving piece of equipment. If you are an older person or if you have a high-volume shop, this device is a must. It is easier to hoop caps and a lot faster using the Third-hand Cap hooper. It will pay for itself in a very short time and you will be so grateful that you made the decision to add this hooping device to your shop!
Embroidery Hoops or Hooping Frames
There are basic sizes and quantities that you need to keep in stock for your embroidery hoops or your hooping frames. The 12cm and the 15cm frames are the most widely used in this industry for most applications. I have also found that at least 6 hoops of each one of these sizes per head work best. If your budget will allow it, 12 per head is even better and more efficient. You can have your garment hooped ahead and the machine is never waiting for you to catch up. In order to make the most of your actual machine running time, you must keep it running as much as possible. You are not making any money if the machine is not in constant motion.
This is the list of the inventory that I have found to be necessary for a good workflow in a small home shop with two machine heads.
- 4 – 9 cm frames
- 12 – 12 cm frames
- 12 – 15 cm frames
- 4 – 18 cm frames
- 4 – 21 cm frames
- 6 – 30 cm square frames -12 in square
- 4 -270 Cap frames
- 4 -Large jacket back frames-whatever size that will fit your machine. Each machine requires a different size.
You can build your hoop inventory as you grow your business.
There are also clamping systems that make it easy for some hard-to-hoop items such as inside pockets of bags and inside of small areas.
Embroidery Marking Placement Tools
Necessary tools to keep on hand that will cover all of your hooping needs for marking placement are:
- Ruler
- Marking Grid
- Marking Tools
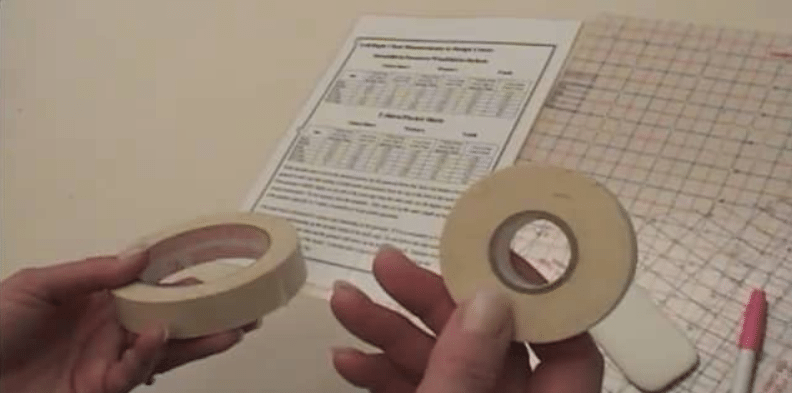
- Masking Tape
Marking tools are very important and necessary so that you can be consistent in your embroidery design placement. When you first start out you need to mark your first garment for placement using a Ruler or a Marking Grid. There are placement charts available and I furnish them to my students at the Embroidery Business Academy. These charts will give you the placement for most of your embroidery placement needs.
The tools that I have found that are the most useful for marking placement are:
- Chalk Pencil
- Air or Water Erasable Marker
- Soap
Soap is my favorite but you must be careful that it does not have any cold cream in it. I have found that the small soaps that I have picked up in hotels have worked the best, but again, do not use one that has cold cream in it. On some garments, this will leave a mark. I had this issue a couple of weeks ago. A dress shirt that had a Teflon coating on it was to be embroidered above the pocket.
The person that was hooping the shirt was new to hooping. She wanted to make sure that the embroidery was going to be straight above the pocket so she marked it and used a soap that in fact did have cold cream in it. Previous to now they had used that same soap on many fabrics without any type of issues. The finishing person wiped off the soap as normal but when she steamed the shirt it left a waxy marking line that would rub off.
As a general rule, the soap rubs off very easily on almost any type of fabric, but that was not the case with this teflon-coated fabric. After much rubbing, I was able to get that line removed. Another lesson learned, do not use a soap with cold cream in it. You must experiment with scraps to be sure that it will work on your fabrics.
The Air Erasable marker is great and was my favorite marking tool until I discovered the soap. You must be very careful though that you do not use the purple air or water erasable markers on red fabrics. Some of the brands will leave a blue line on the garment when you steam it. The purple ink in the marker reacts with the red dye in the fabric. This is also true for orange fabrics. You should not use these markers on any fabric that has red as its color base. For these fabrics use soap or a chalk pencil.
In part 4, I will talk about the supplies that you need and the actual process of hooping. After the garments are hooped they are placed in the staging area ready for the embroidery machine.